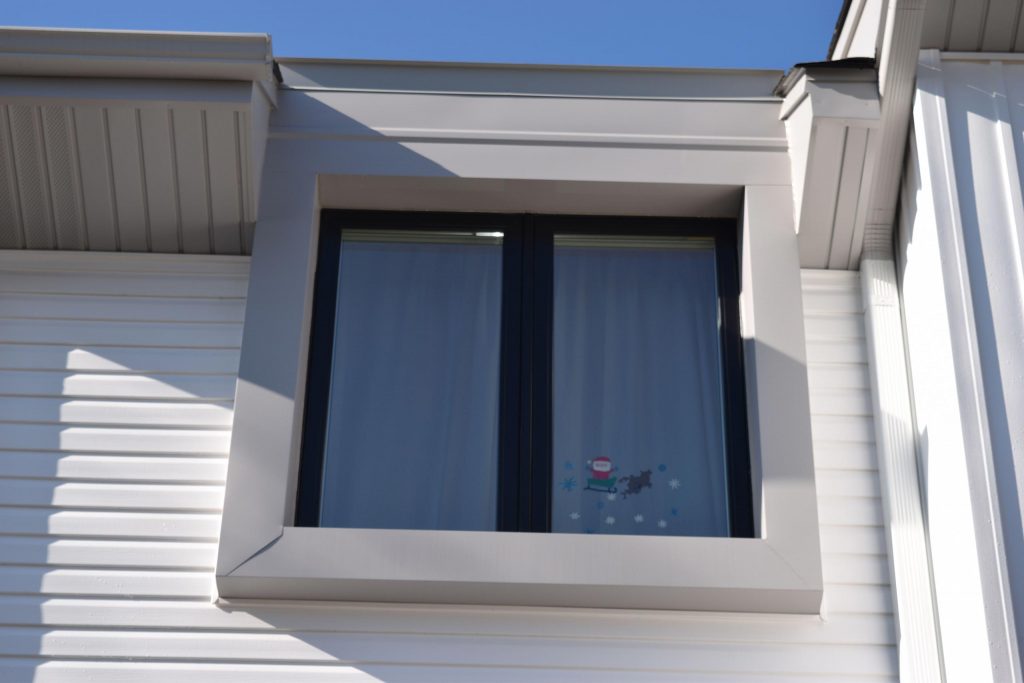
MOLD REMOVAL GUIDE: No matter how much we clean our homes, the chance that mold grows near our windows is pretty high. Keep in mind that mold grows in any environment that is warm and damp; between the rain and the sun, window wells make a perfect nest for the growth and development of mold.
If you leave this untreated, you will end up with a thick layer of mold growth that covers the entire window well and frame. This can be dangerous to the health of everyone that lives in your home. Thankfully, removing mold isn’t terribly difficult. However, you will need protective gear to keep from coming into contact with the fungus. Acquire a face mask, gloves, and safety glasses before you begin.
Mold Removal Guide Supplies
Here’s a list of everything you’ll need for this project:
- Face mask
- Work gloves
- Safety glasses
- Empty spray bottle
- Plastic scraper
- White Vinegar
- Baking Soda
- Clean rags and paper towels
- Plastic wrap and coverings
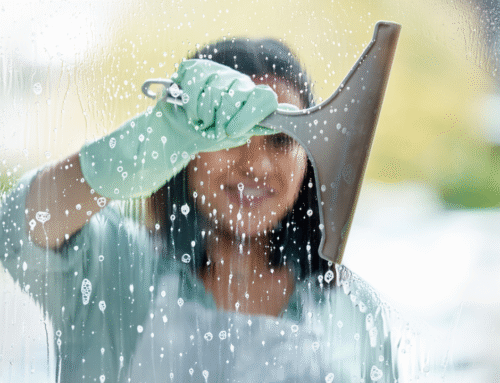
Fill the spray bottle with white vinegar. Equip yourself with the mask, glasses, and gloves. Open the window that you will be working on first. Then, protect the furniture around the area with the plastic coverings so you don’t risk spreading any mold spores onto your belongings. For delicate items and valuables, consider some fantastic storage options to keep your items safe during this cleaning. Now, we’re ready to begin.
Phase One: Dry Removal

This mold removal guide requires for your window wells to be dry, so pick a sunny day to complete the entire task. Start off by using the plastic scraper to remove the excess buildup of mold growth. Make sure that your window is open to allow the airborne particles to escape out of your house instead of venturing further in. Continue scraping the area in the window well along with the ledge and the frame. Be careful not to scrape too deeply; this will work against your efforts and instead force the mold spores deeper into the wood grain.
If your windows are in rough shape, then you can try using your vacuum cleaner with a hose attachment to remove the loose mold spores and dust. If you do go with this option, you’ll have to clean off the vacuum nozzle afterward with soap and water. Now, you should have partially cleaned windows with only embedded mold remaining.
Phase Two: Wet Wiping

With your protective gloves, glasses, and mask on, begin spraying the entire surface of the window wells with white vinegar. Be careful not to overdo it with the vinegar. You don’t want to make a bigger mess than what you started with.
Then, use a clean rag to firmly rub away the excess mold; however, keep in mind that scrubbing too hard will only act to further ingrain the mold into the wood. The goal here is to remove as much loose and easy-to-remove mold as possible. As you are wiping, regularly wash and wring out your rags in the sink.
Caution: Black Mold

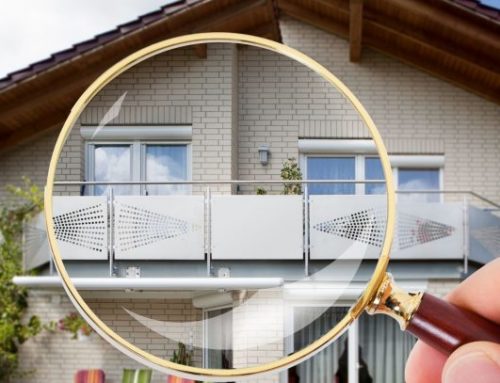
Once the excess layer of mold is stripped away, you can determine the full extent of the mold growth. Beware of black mold. This specific kind of mold is very unhealthy and can cause serious health problems if you don’t address it. Here’s how you can determine if you have black mold:
Look for patches of mold on walls and surfaces. As you discover new growth, check for circular patterns in the mold. Black mold always grows in circular patterns until it runs out of moisture in the given area.
Be careful not to come into contact with the black mold. This kind of fungus can cause skin irritation, sinusitis, and breathing problems so always exercise caution when dealing with it. The best advice we can give is that if you find black mold in your home, contact a licensed professional that can make an informed diagnosis of the issue and will remove the mold properly.
Phase Three: Deep Cleaning

The last step in our mold removal guide is to perform the final deep cleaning. Spray down with vinegar any areas you see that still have visible signs of mold. Then, sprinkle a fine layer of baking soda over the entire surface of the window wells, ledges, and frames. Let the vinegar and baking soda sit for 10-15 minutes.
After, use a clean rag to rub the baking soda into the surfaces of the window wells. The baking soda acts as a scouring powder to lift and remove the remaining mold spores from your windows. The vinegar acts as a disinfectant that kills the development of the fungus. Keep wiping away the baking soda with a rinsed rag and finish the washing process off by using a damp rag to clean the corners and details of the window well.
Finally, use one or two dry rags to completely dry off the area. Inspect the window one last time to make sure no signs of visible mold remain.
Prevention and Maintenance

Keep mold away by removing condensation from your windows regularly. Wipe away any moisture that comes into your casings with a dry cloth. Whenever possible, keep your windows open so the wells are properly ventilated on days after rainfall. Continue to clean out the window wells at least once per 1-2 months to prevent any mold from developing.
With this mold removal guide and proper maintenance, you’ll have clean windows for years to come. For tips on the areas to look out for during your move out cleaning, please visit: https://www.kingofmaids.com/blog/5-areas-look-move-cleaning/