The Wonderful Wall Wiping Guide
When you are tidying up around the house, how often do you take a good, hard look at your walls? For those of us with kids, we actively wipe away crayon marks and handprints on our walls at about eye level. All of our rooms need regular wall wiping. Dust in the air settles into the upper reaches and corners of your rooms. Baseboards and crown moldings are easy targets for overlooked dirt and grime.
The dirt on your walls can pile as high as skyscrapers. Thankfully, you don’t have to live in New York City to keep your walls clean. Set aside a day to take care of them along with your regular chores at least every 2-3 months. It’ll only take about 20 minutes for each room so you can address the walls within your entire home during the day. The result will be a home that looks cleaner, brighter, and much easier to live in. Your family, guests, and (if these walls could talk) your home will thank you for it later.
What You’ll Need

The supplies you need depends on how often you clean your walls. Here’s the checklist:
- A vacuum with hose attachment
- Two Microfiber cloths or cotton rags
- A bucket of soapy water
- An extendable duster
If you take care of maintaining the walls at least three or four times per year, then a quick vacuuming should suffice.
Dust will fall down and settle as you clean so for any furniture is underneath your work area, place a blanket or covering over them. Using a vacuum cleaner with an extender attachment is preferred because you’ll cut down on the amount of dust falling onto you. If your vacuum doesn’t reach your ceiling, you can use an extendable duster instead.
Where to Begin

Start with the top of the walls at the crown molding level. Use your vacuum cleaner or duster to remove the top layer of dust and don’t feel bad if you get your floors dirty. Work in horizontal layers about a foot wide and one wall at a time. This way you ensure that you keep the level of debris contained in one specific area as you are working. Don’t forget to be thorough with the corners of the walls since these areas can be a hotbed of dust collection and cobwebs.
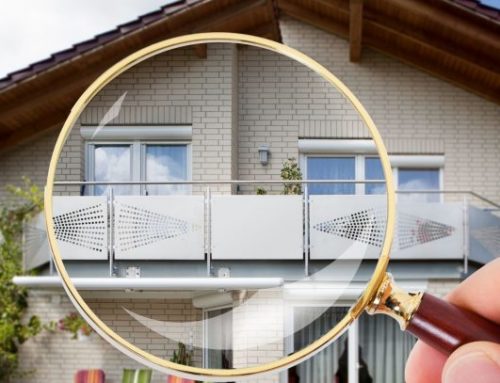
After dusting, you can inspect your walls for spots, stains, and the dreadful possibility of mold growth.
Crown Moldings

Some homes have crown molding that wraps around the top sides of our walls. What are crown moldings, exactly? They are similar to baseboards by covering the corners in between the ceiling and the tops of the walls. Older crown moldings may not be flush with the walls anymore; dirt and grime may have built up in the gap between the board and the walls. Be as thorough as you can when you vacuum to make sure you remove as much buildup as possible.
Next, let’s get the rag and bucket ready. Basically, you’ll want to pass the rag over the crown moldings with a firm, horizontal swipes. Don’t risk damaging the paint or finish by scrubbing too hard. If any dirt or streaks remain, feel free to take multiple passes with fresh clean water.
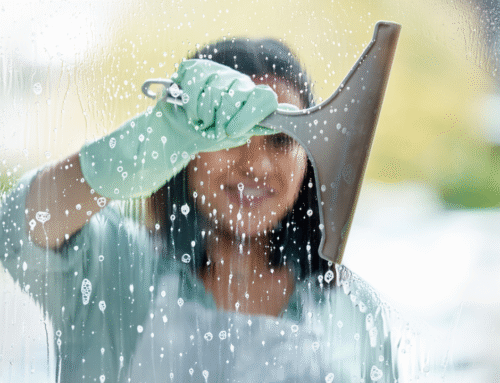
Wall Wiping
If your walls are in good shape, dusting should be enough to make them look good. However, you may have noticed a few spots that could be caked-in dirt or grease stains. Use your trusty rag and soapy water to remove those stains along the way. You don’t have to wet wipe the entire surface of the wall. That would be too time-consuming and you’ll end up with a watery mess that takes longer to clean than we intended.
Continue spot wall wiping on all sides of the room. If your rag is too damp, use a clean towel to dry off the spots so you can avoid leaving a water spot where you just wiped.
Baseboards

Your baseboards are at floor level and often dust will collect in the ridges of the baseboard. Pass your vacuum cleaner across the surface of the baseboards to clean off the top layer of dust. Don’t press too hard or go over the boards excessively because you never want to risk damaging the surface. Just go over the area thoroughly once and that should work wonders.
Now, you’ll want to get your bucket ready. This step will vary depending on how your baseboards are finished. If they are painted, use soap and water to clean them. However, if the surface is polished wood, you can use a specified wood cleaner like Murphy’s Oil Soap.
Dip your clean rag into your cleaner of choice and make sure the cloth is damp but not dripping. If you leave too much moisture on the boards, it will lead to causing spots and soap scum. Pass your rag over the top of the board so you clean the bottom of the wall wiping, the top ridge on the board, and even the corners of the walls. For the second pass, go over the flat surface of the boards to cover the most area. Finally, run your rag horizontally across the bottom of the boards where they meet the floor.
If you used soap and water, finish by passing a clean dry rag over the baseboards to wipe away any lingering residue.
Detailing

The corners of the baseboards and the ridges may still have some thin black lines of dirt caked in. You won’t be able to remove this dirt with vacuuming or wiping. The pros I’ve spoken with recommend using cotton swabs for the corners. Then, dip the cotton end in warm water and pass the tip across the line of dirt. If there’s a difficult to remove spots, twirl the swab lightly between your fingers to spin lightly scrub the spot. This level of detail will make your boards like brand new.
The corners of the baseboards will accumulate the most amount of dirt because the two baseboards will make a ridge. Using your cotton swabs for the corners will ensure that your cleaning is thorough and complete.
Finishing the Job
Almost done! Now that your walls and baseboards are clean, complete the task by cleaning your floors. Pass a vacuum cleaner around the corners of your floor if you have carpet or quickly sweep if your floors are hardwood or tile.
That’s all there is to it. Your baseboards, crown moldings, and walls are now spotless. This may not be a task that will earn you much praise or accolades, but doing this regularly is essential to having a clean home. If you follow our guide, you will notice just how fast and easy this project can be.
Reward yourself for the hard work by inviting friends over for dinner. They’ll all come in and be blown away by your immaculate home. Don’t be surprised if they ask you which cleaning services you hired. It’ll be great to tell them you did the work on your own. Of course, if they ask how you did it, just refer them to this wall wiping guide. Need a local Chicago window pro? Hire Friendly Windows.